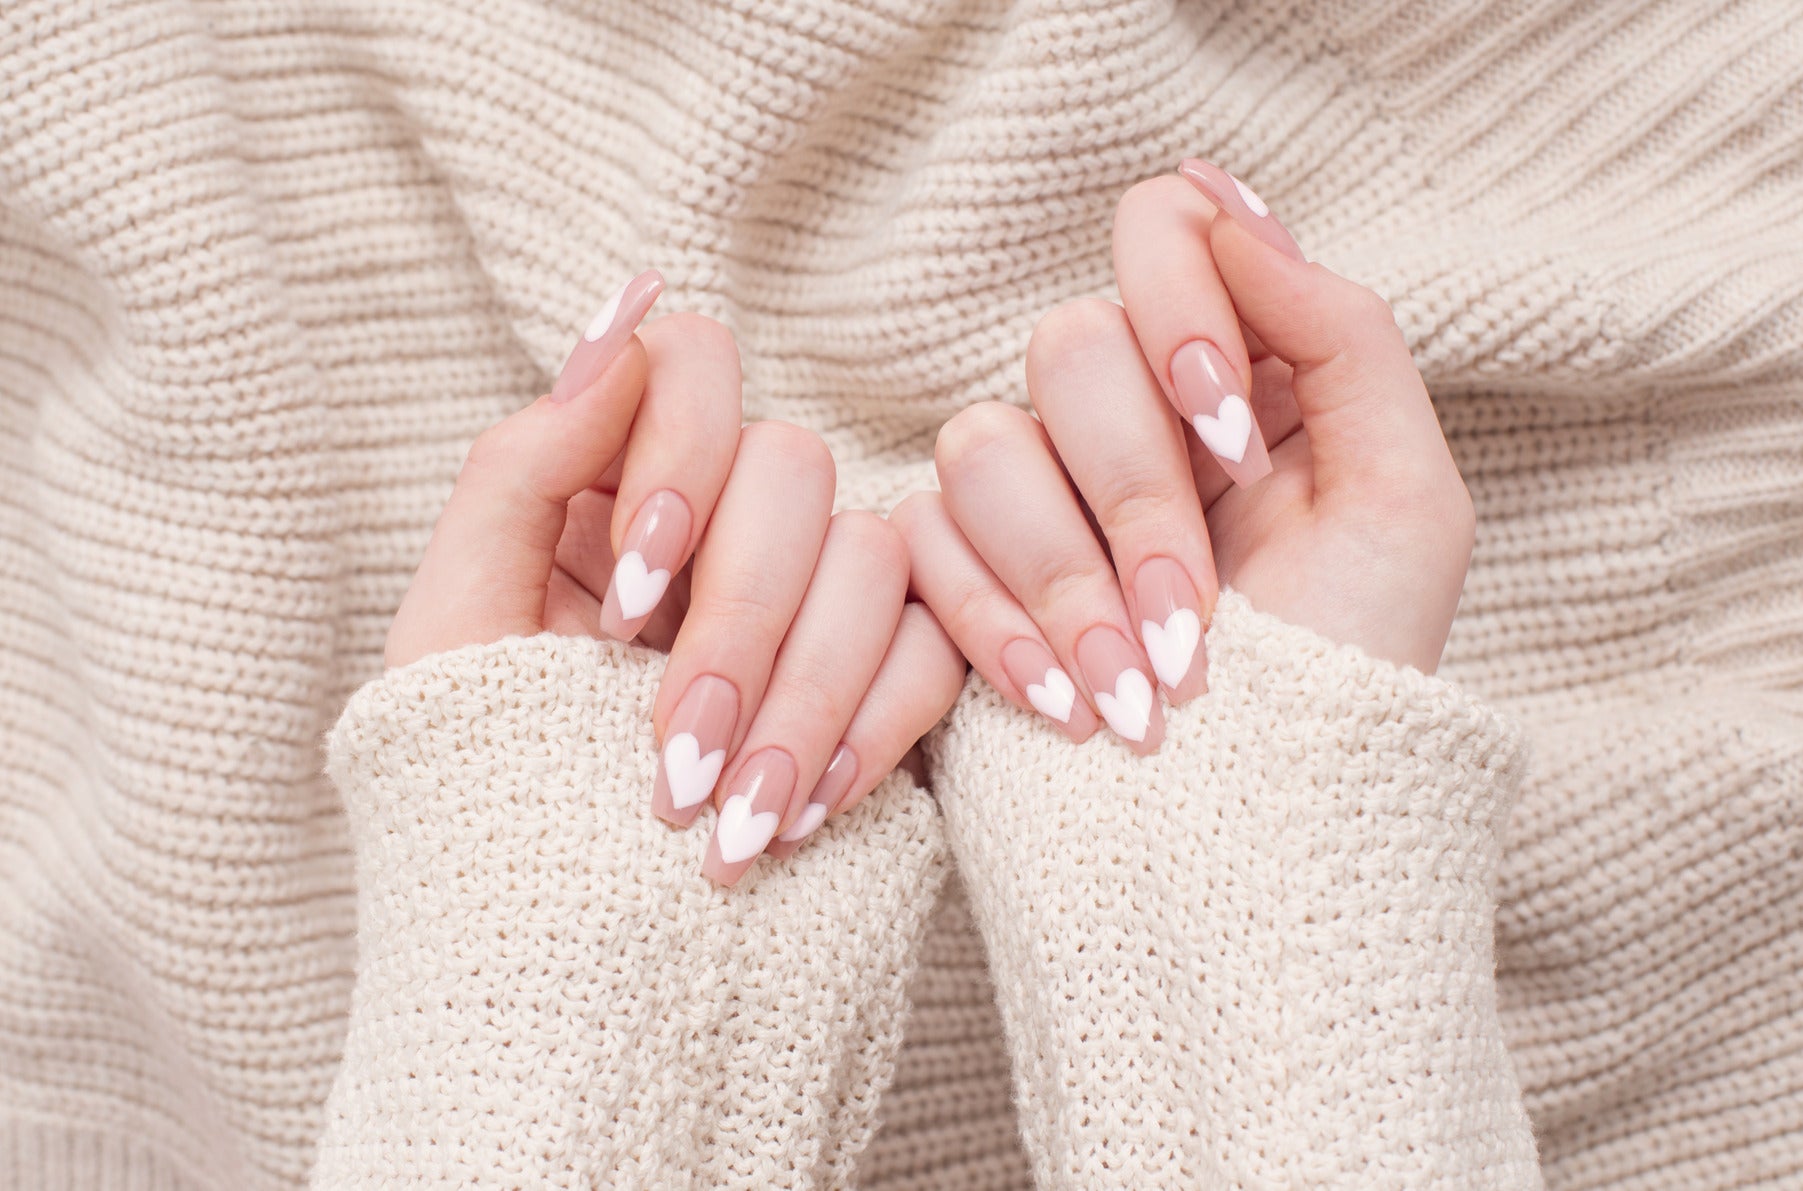
Don’t Soak It Off! How to Safely Infill BIAB for Incredible Growth
We’ve all been there. Your BIAB manicure is three weeks old, you’ve got a bit of "growth gap" at the bottom, and you’re itching to change your colour. Your first instinct might be to reach for the acetone and soak it all off... Stop right there!
If your goal is maximum nail growth and ultimate nail health, the infill is your new best friend. By refilling the growth area instead of soaking off the whole set, you avoid drying out your natural nail and keep that protective "armour" intact.
Here is the Belle Beauty guide to mastering the infill like a pro.
Why Infilling is Better Than Soaking Off
When we soak off gel with acetone, it can strip the natural oils from your nail plate. If you do this every 2–3 weeks, your nails can become brittle.
An infill (or "rebalance") allows you to:
-
Maintain Strength: You keep the existing structure of the BIAB.
-
Save Time: No more sitting with your fingers in foil for 20 minutes!
-
Encourage Length: Because the nail is never "naked," it’s less likely to snap.
Step-by-Step: The Perfect Infill
1. Prep & Sanitise
Start with clean hands! Sanitise your tools and your nails. Use a Belle Beauty 100/180 grit file to gently remove the top coat and any "bulk" from the old BIAB.
2. Check for Lifting
This is the most important part. If any of the old product has lifted at the edges, you must file it away gently. Never apply new BIAB over lifted product, or you’ll trap moisture (and we don't want any "greenies"!).
3. Detail the Cuticle
Gently push back your cuticles and remove any non-living tissue from the nail plate. This ensures your new BIAB sticks like a dream.
3.5 The "Magic" Prep (Dehydrator & Primer)
This is where the magic happens! Use your Dehydrator and Primer on the natural nail growth area only.
- Dehydrator: This removes any surface oils or moisture from that fresh new nail.
-
Primer: Think of this as double-sided tape. It creates the perfect bond between your natural nail and the BIAB. You don't need to put this over the old product—just the new growth!
4. Apply Your Base
Apply a thin "slip layer" of your chosen Belle Beauty BIAB over the entire nail, including the new growth area. Don't cure yet!
5. The "Bead" & The Apex
Take a larger bead of BIAB and place it near the cuticle (but not touching the skin!). Gently guide it down the nail. You want to focus a bit more product in the "stress area" (the middle of the nail) to create a new apex. This is what prevents the nail from snapping!
6. Cure & Finish
Pop your hand in your Belle Beauty UV/LED Lamp. Once cured, wipe away the tacky layer, refine the shape with your file, and apply your favourite top coat.
The "Jewels, Not Tools" Rule 💎
Now that you’ve mastered the infill and your nails are getting longer, it’s more important than ever to remember: Your nails are jewels, not tools! As your nails get longer, the leverage on your natural nail bed increases. Don't use them to pick at stickers or open parcels. Use a letter opener, use a pen—save those gorgeous nails for looking fabulous!
Maintenance Tip: The Daily Drop
To keep your infill looking fresh and your natural nails flexible, apply a drop of Belle Beauty Cuticle Oil every single night. It’s the secret to making a manicure last 4 weeks instead of 2.
Ready to try your first infill? Grab your files and your favourite BIAB shade and let’s get to work!