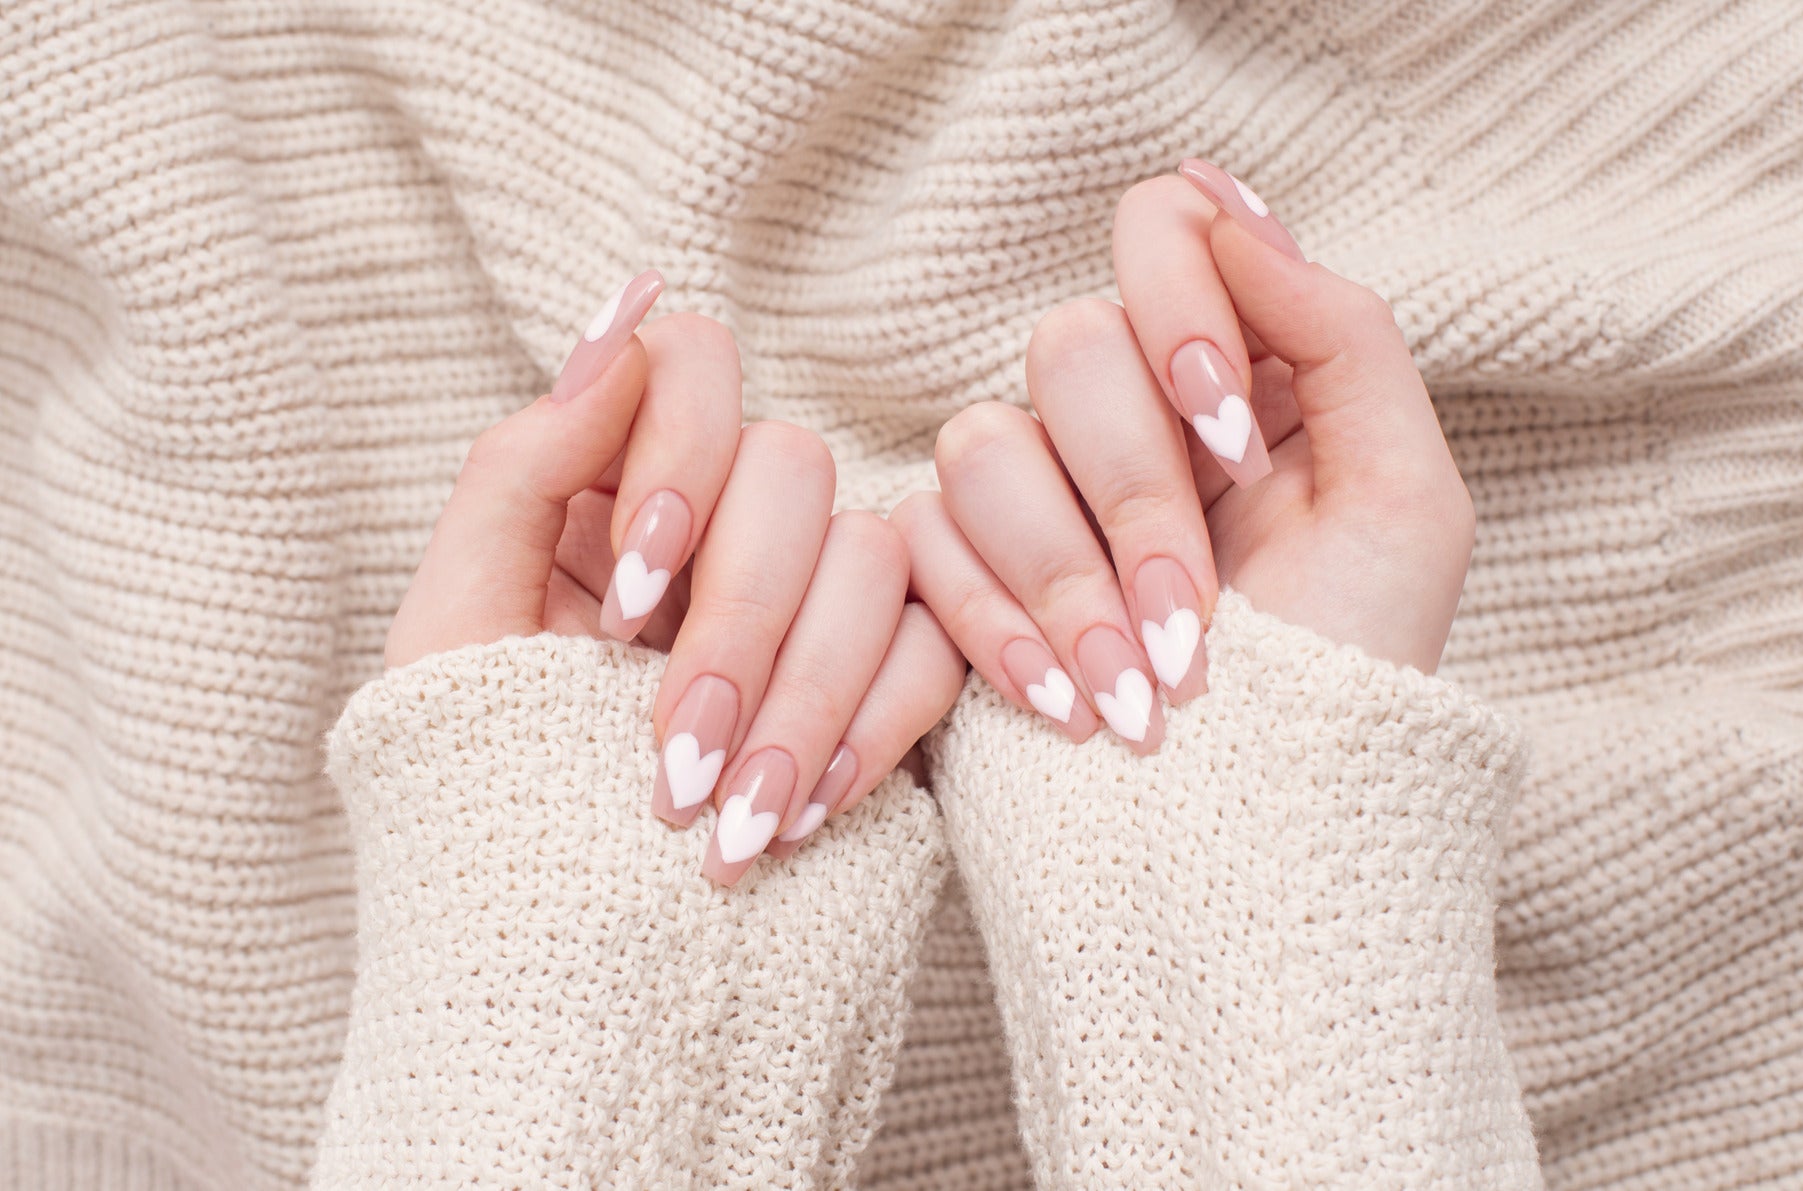


Quick answer: To apply BIAB at home, prep the nail (push back the cuticles, remove dead cuticle, shape and lightly buff), then apply dehydrator and primer. Next, apply a thin base coat and cure it, followed by a thin first layer of BIAB, cured. Apply a second layer to build a soft apex and cure again. Finish with a top coat, cure, and massage in cuticle oil. Keep every layer thin and off the skin, cap the free edge each time, and cure every layer fully. A well-applied set lasts two to three weeks.
BIAB (Builder in a Bottle) is one of the most beginner-friendly gel systems, because its self-levelling formula smooths itself out as you work. This guide follows the Belle Beauty BIAB system step by step, with the curing times we recommend for our 180W UV/LED lamp.
What you'll need
- A UV/LED lamp: BIAB won't set without one
- Nail prep dehydrator and nail primer
- Base coat and top coat
- BIAB in your chosen shade
- A cuticle pusher and cuticle nippers
- A nail file and a buffer block
- Lint-free wipes and nail cleanser
- Cuticle oil
The Belle Beauty BIAB Kit includes all of these: five HEMA & TPO-free BIAB shades, base and top coat, primer, dehydrator, cuticle tools, files, buffers, lint-free wipes, cuticle oil and a 180W UV/LED lamp. If you already own a lamp, the BIAB Essentials Kit has everything else.
How to apply BIAB at home, step by step
Step 1: Prep your natural nails
- Push back your cuticles with a cuticle pusher and lift away any dead cuticle sitting on the nail plate. Trim hangnails with nippers, but don't cut the living skin.
- File your nails to shape.
- Lightly buff the whole nail surface with a buffer block to remove the shine. Buff gently, as over-buffing thins the natural nail.
- Wipe away the dust with a lint-free wipe and cleanser.
From this point, avoid touching your nails with your fingers. Skin oils are the most common cause of BIAB lifting. Our guide to nail prep explains each step in more detail.
Step 2: Dehydrate and prime
Apply nail prep dehydrator to each nail to remove any remaining oil and moisture. Follow with a small amount of nail primer on the nail plate only, avoiding the skin. Primer helps BIAB grip the natural nail and reduces lifting.
Step 3: Apply the base coat
Apply a thin layer of base coat. Leave a hair's-width gap at the cuticle and side walls so nothing touches the skin, and cap the free edge by running the brush along the tip of the nail. Cure for 60 seconds. Don't wipe the base coat after curing: the slightly tacky layer helps the BIAB bond.
Step 4: Apply your first layer of BIAB
Apply a thin, even layer of BIAB, again keeping it off the skin and capping the free edge. Cure for 90 to 120 seconds.
Step 5: Build the apex
Apply a second layer to build strength. Place a small bead of BIAB in the centre of the nail and let it self-level slightly towards the sides and tip, creating a soft apex: the highest, strongest point of the nail, roughly in the middle. Check from the side before curing. The nail should rise gently in the centre and slope down towards the cuticle and tip. Cure for 90 to 120 seconds.
If your nails are weak or longer, you can add a third thin layer for extra strength and cure again. Our guide on how to build a BIAB apex goes into more detail.
Tip: if you feel a sudden burst of heat in the lamp, take your hand out for a few seconds, then put it back in to finish the cure. Thinner layers help prevent this. See how to prevent BIAB heat spikes.
Step 6: Refine the shape (optional)
Wipe the nails with a lint-free wipe and cleanser to remove the sticky layer. If you want a smoother surface or a crisper shape, gently file and refine now, then wipe away the dust.
Step 7: Seal with top coat
Apply a thin layer of top coat, cap the free edge one last time and cure fully.
Step 8: Finish with cuticle oil
Apply a drop of cuticle oil to the base of each nail and massage it into the cuticle and surrounding skin.
Three habits that make the biggest difference
- Thin layers: thick layers don't cure all the way through, which leads to lifting and heat spikes.
- Nothing on the skin: BIAB touching the cuticle or side walls lifts as soon as the skin moves, and repeated skin contact with uncured gel is how allergies develop.
- Cure thumbs separately: thumbs roll away from the light, so cure your four fingers together, then lay each thumb flat in the lamp on its own.
Common beginner mistakes
| Mistake | What happens | How to fix it |
|---|---|---|
| Rushing prep | Lifting within days | Remove dead cuticle, buff off all shine, dehydrate and prime |
| Layers too thick | Soft spots, wrinkling, heat spikes | Build strength with two or three thin layers |
| Flooding the cuticle | Lifting at the base | Leave a hair's-width gap from the skin |
| Not capping the free edge | Chips and lifting at the tip | Run the brush along the tip with every layer |
| No apex | Nails crack or snap at the stress point | Build a soft apex in the second layer |
| Short cures | Soft BIAB that lifts or peels | Cure every layer fully, thumbs separately |
If your BIAB does lift, our guide to why BIAB lifts breaks down each cause.
Wearing colour with BIAB
BIAB comes in clear, nude, milky and coloured shades, so you can wear it on its own. For a bolder colour, apply gel polish over your cured BIAB layers before the top coat. BIAB gives you the strength and gel polish gives you the colour.
Aftercare and infills
Use cuticle oil daily, wear gloves for washing up and cleaning, and don't use your nails as tools. A BIAB set lasts two to three weeks, and when regrowth shows you can infill it rather than soaking it all off. Read more in how long BIAB lasts. When you do want to take it off, follow our guide on how to remove BIAB at home, and never peel it off.
Frequently asked questions
Is BIAB hard to apply at home?
No, it is one of the easiest gel systems to learn because it self-levels. Your first set will take longer, but thin layers, careful prep and full cures quickly become second nature.
How long do you cure BIAB?
With the Belle Beauty 180W UV/LED lamp, cure the base coat for at least 60 seconds, the first BIAB layer for at least 90 seconds and each following BIAB layer for 90 to 120 seconds. Always cure thumbs separately.
Do you need a base coat under BIAB?
In the Belle Beauty system, yes. A thin base coat goes on after the primer and before your first BIAB layer, to give the BIAB a strong bond.
How many layers of BIAB should I apply?
Usually two: a thin first layer, then a second layer to build the apex. Add a third thin layer if your nails are weak or longer.
Can BIAB add length?
BIAB is mainly used to strengthen natural nails. For noticeable length, builder gel is the better choice. See our guide to BIAB extensions vs overlay.
How long does home BIAB last?
Two to three weeks when it is applied with good prep and fully cured, just like a salon set.