Builder Gel for Beginners: Can You Use It at Home?
If you're new to the world of nail enhancements, you might be wondering if builder gel is something you can manage. The good news is that builder gel is not only for professionals—beginners can absolutely use it too! In this guide, we'll delve into what builder gel is, how to use it, and share some tips to help you get started. Whether you're aiming to strengthen your natural nails or venture into creative nail art, builder gel offers a versatile solution. So, let's explore the wonderful world of builder gels and see if it's the right match for you.
Venturing into nail enhancements can be overwhelming with such a wide range of products available, but builder gel stands out due to its flexibility and ease of use. It's an excellent starting point for those looking to upgrade their nail game without diving into more complex systems like acrylics.
By understanding the fundamentals and arming yourself with the correct tools and techniques, you can confidently use builder gel to achieve salon-quality nails at home. This article will not only guide you through the application process but also highlight the benefits and troubleshoot common issues to ensure your experience is as smooth as possible.
What is Builder Gel?
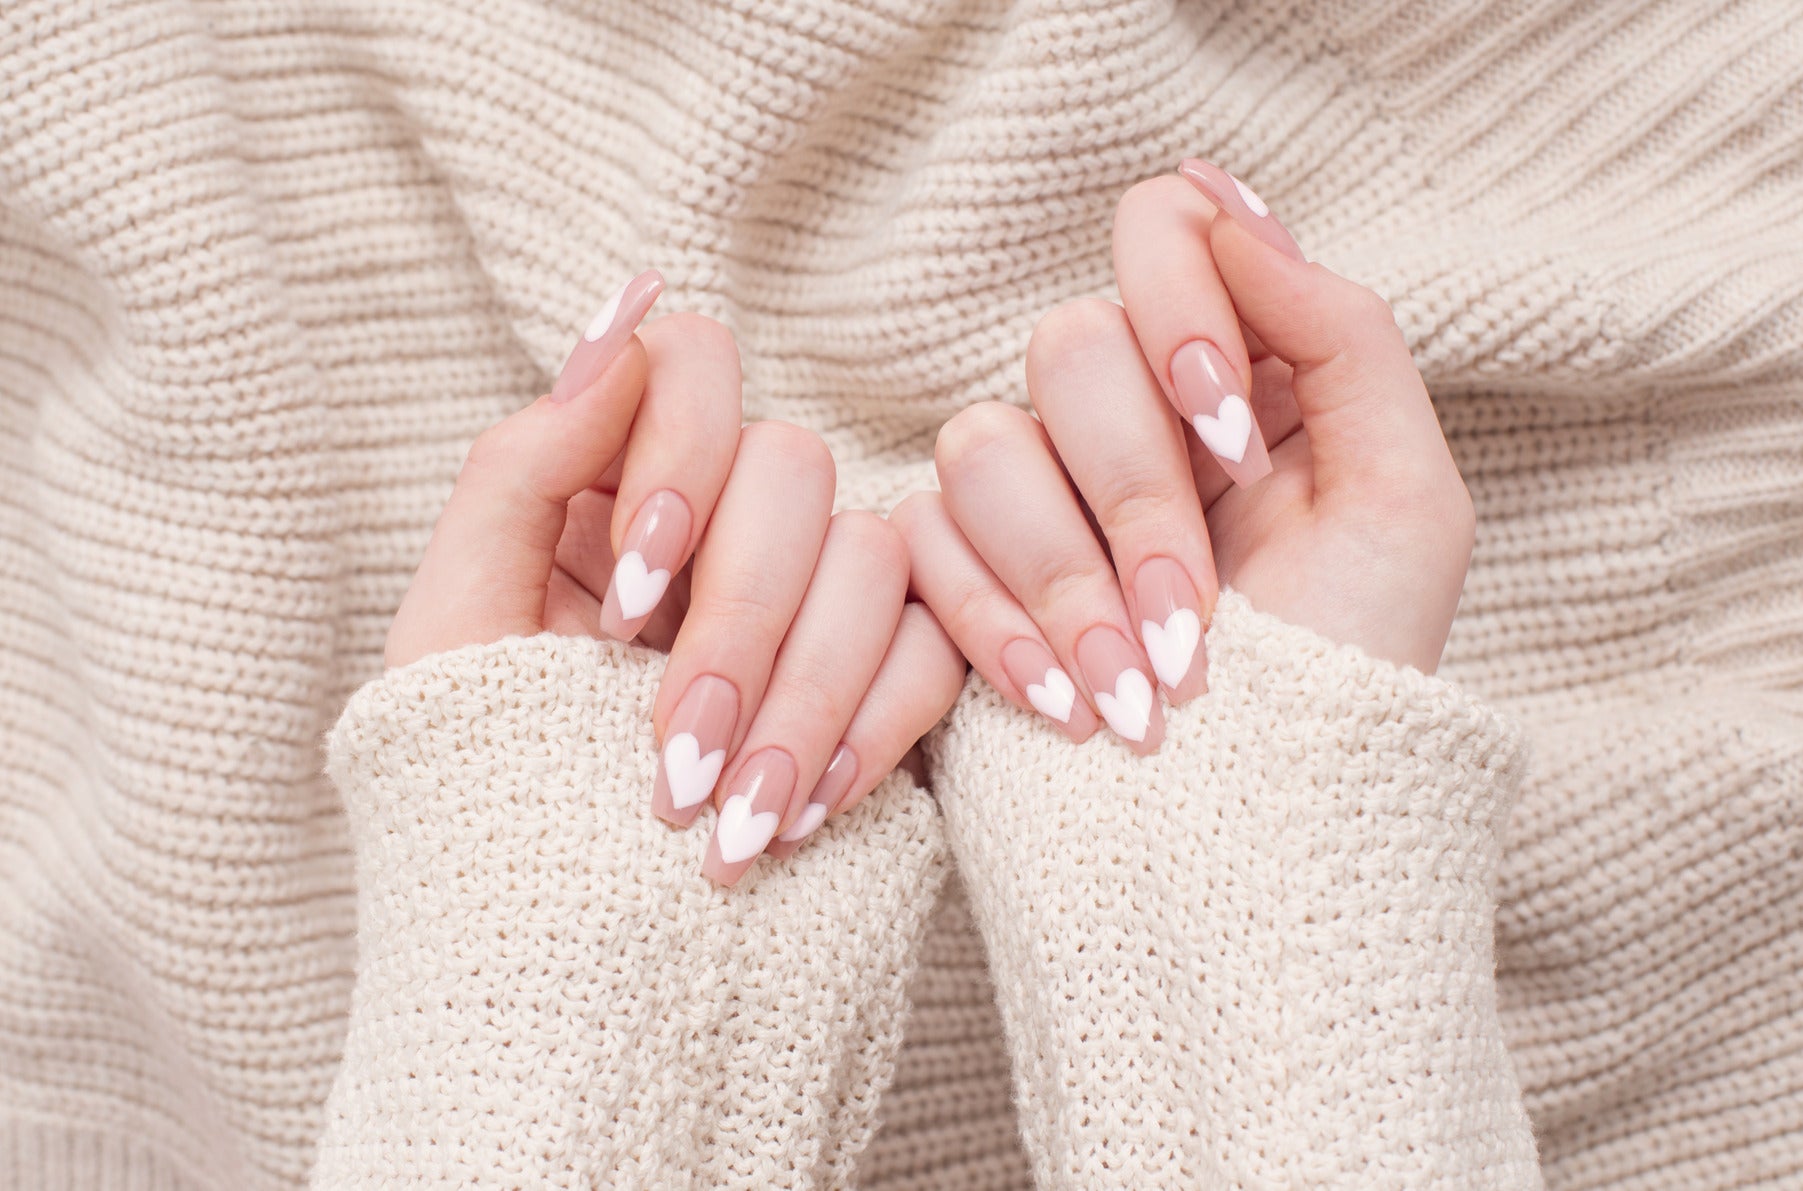
Builder gel is a type of gel used to create strong and durable nail enhancements. It's thicker than normal gel polish and is designed to add length and strength to natural nails. This gel is a hybrid between a hard gel and a soft gel, offering the best of both worlds. Unlike acrylics, builder gel is cured under a UV or LED lamp and offers a more flexible finish. This makes it a popular choice for those who want a natural look without the bother of acrylics.
Benefits of Using Builder Gel
Builder gel is favoured by many due to its versatility and the natural look it provides.
Here are some reasons why you might choose builder gel:
- Strength: It's stronger than standard gel polish, providing a sturdy base for your nails. This makes it an ideal choice for those with brittle or weak nails that are prone to breaking or splitting.
- Flexibility: Unlike acrylics, builder gel is less likely to crack under pressure, allowing your nails to withstand daily wear and tear whilst maintaining their integrity.
- Natural Appearance: It offers a glossy finish that resembles the natural nail. This makes it perfect for those who prefer a subtle enhancement rather than an exaggerated look.
- Versatility: You can use it to extend nails, create overlays, or strengthen your natural nails. It also allows for creativity, as you can incorporate nail art or coloured gels to customise your look.
Aside from its functional benefits, builder gel is also less odorous compared to traditional acrylics, making the application process more pleasant.
Its hypoallergenic properties are another advantage, as it's generally more suitable for those with sensitive skin or allergies. With these benefits, it's no wonder builder gel is gaining popularity among both beginners and seasoned nail enthusiasts.
Builder Gel Tutorial for Beginners
Ready to try builder gel? Here's a simple step-by-step tutorial to help you get started. With a little patience and practice, you can master the application process and enjoy salon-quality nails at home.
Step 1: Gather Your Tools
Before you begin, ensure you have the following tools to hand:
- Builder Gel: The star of the show, available in clear or various colours.
- Base Coat: To ensure the gel adheres properly to your nails.
- Top Coat: For a glossy, long-lasting finish.
- LED or UV Lamp: Essential for curing the gel layers.
- Nail File and Buffer: To shape your nails and prepare the surface for gel application.
- Cuticle Pusher: To gently push back cuticles and create a clean canvas.
- Nail Cleanser: To remove oils and residue from the nail surface.
- Gel Brush: For precise application of the builder gel.
Having the right tools is crucial for a successful application. Investing in quality products and tools can make a significant difference in the final outcome, ensuring your nails look professional and last longer.
Step 2: Prep Your Nails
Preparation is key to a successful builder gel application. Follow these steps:
- Clean Your Nails: Remove any old polish and wash your hands thoroughly. This ensures that no residue affects the adhesion of the gel.
- Shape Your Nails: Use a nail file to shape your nails to your desired length and shape. Opt for a style that complements your natural nail bed.
- Push Back Cuticles: Gently push back your cuticles using a cuticle pusher. This step prevents the gel from lifting around the edges.
- Buff the Nail Surface: Lightly buff the surface of your nails to remove shine. This helps the gel stick better by creating a slightly rough surface.
- Cleanse: Wipe your nails with a nail cleanser or surgical spirit to remove any dust and oils. A clean surface is essential for the gel to bond properly.
Appropriate nail preparation not only aids in the adhesion of the gel but also improves the overall durability of the manicure. Skipping these steps can lead to problems such as lifting or premature chipping.
Step 3: Apply the Builder Gel
- Base Coat: Start with a thin layer of base coat and cure under the lamp according to the product's instructions. This creates a sticky layer for the builder gel to stick to.
- Builder Gel Application: Using a gel brush, apply a thin layer of builder gel to your nail. Be sure to avoid the cuticles and sidewalls to prevent lifting.
- Cure: Cure the gel under a UV or LED lamp. (The time will depend on the particular product you're using, so do follow the manufacturer's guidelines.)
- Build the Nail: For added strength or length, apply additional layers of builder gel, curing each layer before applying the next. This step lets you customise the thickness and shape of your nails.
Applying builder gel requires a steady hand and attention to detail. Taking your time with each layer ensures a smooth, even application and a professional-looking result.
Step 4: Finish with a Top Coat
- Top Coat: Apply a top coat to seal the builder gel and grant your nails a glossy finish. This step enhances the durability and appearance of your manicure.
- Final Cure: Cure one last time under the lamp. Make sure all layers are fully cured to prevent any sticky residue.
- Cleanse: Wipe your nails with a cleanser to remove any sticky residue. This final touch leaves your nails smooth and ready.
The final steps in the builder gel application process are crucial for achieving a long-lasting, chip-free finish. With practice, you'll be able to refine your technique and enjoy professional-quality results at home.
Tips for Using Builder Gel
- Practice Makes Perfect: Don't worry if your first attempt isn't up to scratch. Practice will improve your technique, helping you achieve a more polished finish over time.
- Take Your Time: Rushing can lead to mistakes. Take your time to ensure each layer is applied smoothly, resulting in a more professional-looking manicure.
- Thin Layers: Apply thin layers to prevent the gel from flooding the cuticles. This technique helps maintain a natural appearance and reduces the risk of lifting.
- Proper Curing: Ensure each layer is properly cured to avoid lifting and ensure durability. Curing times may vary, so always refer to the product instructions for guidance.
In addition to these tips, maintaining a tidy workspace and exercising patience will contribute to a successful builder gel application. As you become more familiar with the process, you'll develop your own techniques and preferences.
Troubleshooting Common Problems
Even with the best intentions, you might encounter some common problems when using builder gel. Here's how to troubleshoot them:
- Gel Lifting: If your gel is lifting, ensure your nails are properly prepared and each layer is thoroughly cured. Proper nail preparation is crucial in preventing this issue.
- Bubbles in Gel: Avoid shaking the gel bottle and apply the gel in smooth, even strokes to prevent bubbles. Bubbles can compromise the appearance and durability of your manicure.
- Sticky Finish: If your nails still feel sticky after curing, make sure to cleanse them with alcohol to remove the inhibition layer. This step ensures a smooth, glossy finish.
Understanding how to address these common issues will enhance your ability to create flawless builder gel manicures. Practice and patience are key, and over time, you'll gain the confidence to tackle problems effectively.
Conclusion
Builder gel is an excellent option for beginners who want to strengthen and enhance their nails without the complexity of acrylics. With a bit of practice and the right tools, you'll be creating beautiful gel nails in no time. The flexibility and natural appearance of builder gel make it an appealing choice for those seeking a subtle yet durable enhancement. So, grab your builder gel kit and embark on your nail art journey!
Whether you're after length, strength, or just a bit of extra shine, builder gel can be a fun and rewarding way to achieve your nail goals. As you gain experience, you'll discover the joy of experimenting with different styles and techniques, further enhancing your nail artistry skills. Happy gel-building!