Photoinitiators in Gel Nails — A Plain-English Guide
If you’ve ever wondered why some gels cure crystal-clear while others feel softer or look warm-toned, the answer often starts with photoinitiators—the tiny “light switches” that help gel set under a lamp. This guide keeps it practical, explains the EU’s ban on TPO from 1 September 2025, and shares curing tips you can use whether you’re in a salon or doing your nails at home.
Regulatory snapshot (EU/EEA): From 1 Sept 2025, TPO (diphenyl(2,4,6-trimethylbenzoyl)phosphine oxide) is prohibited in cosmetics in the EU. That means gels containing TPO cannot be sold, placed on the market, or used commercially in the EU/EEA. Alternatives remain legal and widely used. Internal Market SMEs+1
What are photoinitiators (in human terms)?
They’re ingredients that absorb UV/LED light and kick off the curing reaction. Common names you’ll see:
-
BAPO (bis-acylphosphine oxide)
-
CQ (camphorquinone)
-
Other modern initiator systems used in TPO-free formulas
Each has a slightly different light absorption profile. That’s why a gel matched to a specific lamp can feel “snappier” or “slower” to set.
Why did the EU ban TPO?
Regulators re-classified TPO as a CMR (Category 1B) reproductive toxicant under the CLP Regulation and, as a result, added it to Annex II (prohibited substances) of the EU Cosmetics Regulation, with effect from 1 Sept 2025. This is why EU nail products are now TPO-free by requirement, not just preference. Internal Market SMEs
What about the UK?
The UK is on a separate regulatory timeline. As of now, the EU ban does not automatically apply in Great Britain; industry reporting suggests the UK may follow with a similar measure later.
TPO-free doesn’t mean “no photoinitiator”
It means the formula uses alternatives to TPO to achieve a complete cure—often designed to deliver clear, glossy results with compatible lamps. Clarity or tone depends on the whole formula + lamp match, not a single ingredient.
Curing basics that matter more than you think
Whether you’re a pro or a beginner, the same fundamentals apply:
-
Match the lamp + product. Use a reputable UV/LED lamp recommended for that gel system.
-
Keep layers thin. Thick layers block light and risk soft spots.
-
Follow the time. If it says 60 seconds, give it a full 60—don’t stack coats too quickly.
-
Mind the distance. Keep nails roughly 1–2 cm from the LEDs (per your lamp guidance).
-
Cure thumbs flat. Do them separately so light hits evenly.
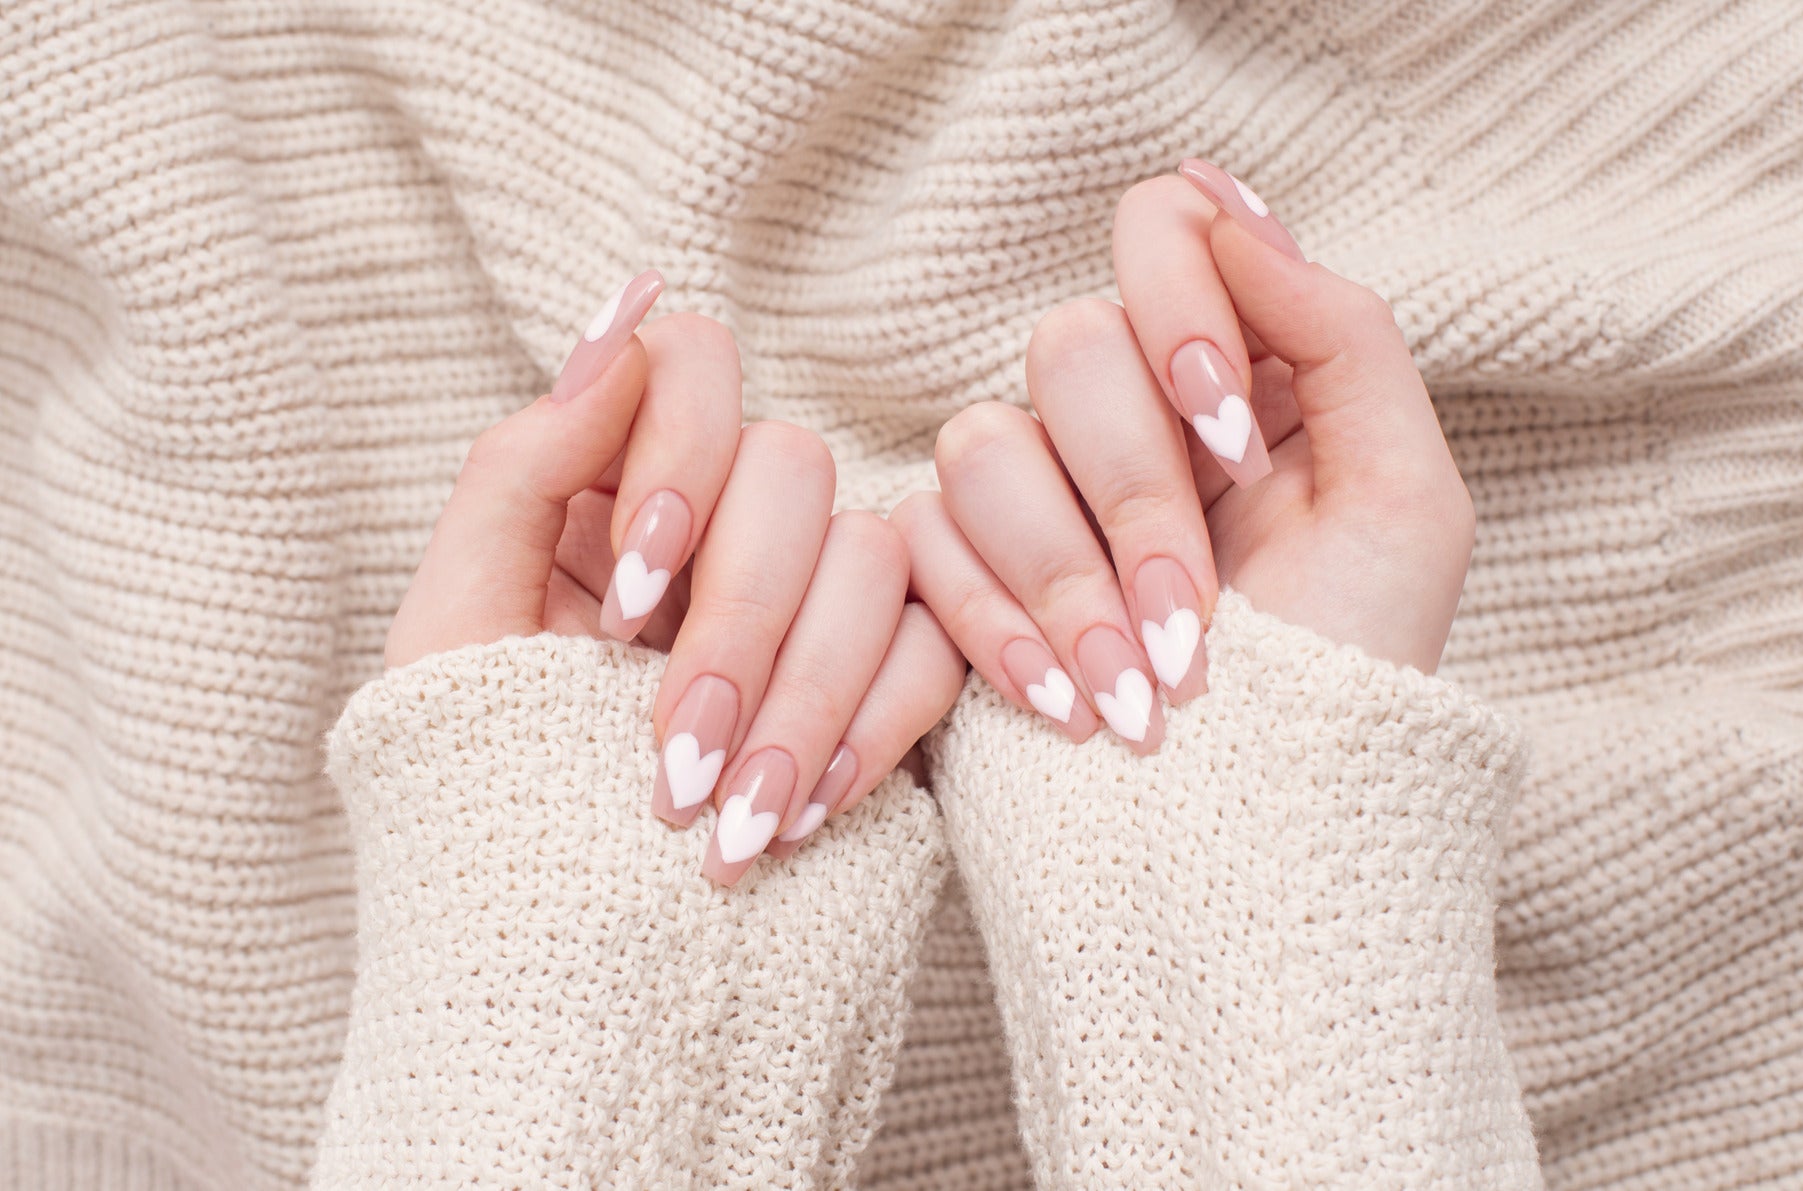
-
Finish as directed. Some gels are no-wipe; others need a gentle cleanse. Allow a brief cool-down before finishing/oiling to preserve shine.
For at-home beginners: the fool-proof routine
-
Start with clean, oil-free nails (skip oils right before prep).
-
Apply a very thin base, cure fully.
-
Float on thin builder layers, curing each fully—don’t rush.
-
Cap free edges with top coat and cure to the beep.
-
Finish with cuticle oil (after nails cool slightly) for that fresh, glossy look.
FAQs
Is TPO-free always clearer?
Not necessarily. Clarity depends on the whole formula and lamp match.
Can I mix brands?
You can, but it’s easier to get predictable results using a single system designed to work together.
My gel feels soft—did it under-cure?
Possibly. Re-check layer thickness, lamp distance, and timing. Make sure thumbs cure flat.
Is “low-heat” all about the initiator?
Not only. Heat spikes are influenced by layer thickness, the resin’s exotherm, and user technique.