Nail Preparation: Key to Gel Polish Success
The art of nail care is an exacting process. It requires precision, knowledge and a keen eye for detail.
One of the most crucial steps in this process is nail prep for gel polish. It's the foundation for a long-lasting, flawless manicure.
But mastering this technique can be challenging. It's not just about applying the polish. It's about understanding the nail, its needs, and how to prepare it for the gel polish application.
This guide is designed to help aspiring nail technicians navigate this process. It provides a step-by-step guide on how to prep nails for gel polish.
From understanding the importance of nail prep to troubleshooting common issues, this guide covers it all.
So, whether you're a novice or looking to refine your skills, this guide is your go-to resource for mastering nail prep for gel polish.
Understanding the Importance of Nail Prep for Gel Polish
Nail prep is the cornerstone of a durable gel polish manicure. It ensures the polish adheres properly to the nail surface. Without thorough preparation, even the finest gel polish can peel or chip prematurely.
Proper nail prep extends the life of the manicure and protects the natural nail. It prevents issues like lifting, bubbling, and peeling. Committing to a detailed prep routine not only enhances the manicure's appearance but also boosts client satisfaction. This essential foundation must not be overlooked by any aspiring nail technician aiming for excellence in nail care.
Essential Tools and Materials for Nail Prep
Gathering the right tools and materials is crucial for effective nail prep. These items streamline the process and ensure optimal results. Prioritise quality to avoid issues with gel polish.
Here is a list of essential tools and materials you'll need:
- Nail file and buffer
- Cuticle pusher and nipper
- Nail cleanser and dehydrator
- Nail primer
- Lint-free wipes
- Base coat
These essentials help you achieve precise, clean work, laying the groundwork for flawless gel polish. Investing in the proper equipment saves time and boosts your craftsmanship as a nail technician.
Step-by-Step Nail Prep for Gel Polish
Achieving a durable and smooth gel polish application begins with thorough nail prep. This step-by-step guide will walk you through each crucial stage. Following these steps ensures perfect adhesion and long-lasting results.
Step 1: Sanitise and Assess Nail Health
Start by washing your hands with warm water and soap. Use a sanitiser to ensure a bacteria-free environment. Examine the nails for any signs of damage or infection. Healthy nails are the foundation for gel polish success. Prioritise safety and cleanliness at all times.
Step 2: Trim and Shape Nails
Use nail clippers to trim the nails to your desired length. Keep them uniform to enhance aesthetics. Shape the edges with a file, choosing a square, round, or oval style. Aim for even edges that complement the client's hand shape.
Step 3: Care for Cuticles
Gently push back cuticles with a cuticle pusher. Avoid force to prevent injury. Trim any excess cuticle with nippers for a neat appearance. Be cautious to protect the nail bed from damage. This step promotes smooth gel application.
Step 4: Buff the Nail Surface
Lightly buff the nail surface using a buffer block. The goal is to remove the natural shine, not to thin the nail. Be gentle to preserve nail health. This process increases the adhesion of the gel polish for a longer-lasting effect.
Step 5: Dehydrate the Nail Plate
Apply a nail dehydrator to each nail. This step removes oils and moisture, creating a better bonding surface. Ensure complete coverage, avoiding the skin. Proper dehydration is key to preventing lifting.
Step 6: Apply Nail Primer
Use a nail primer sparingly. Apply a thin layer to each nail, steering clear of the surrounding skin. The primer enhances the bond between the natural nail and gel nail polish. Allow it to dry fully before moving to the base coat.
Step 7: Base Coat Application
Apply a thin, even layer of base coat. Cap the free edge to prevent future chipping. This layer protects the natural nail from staining. Follow manufacturer instructions for curing under an LED or UV lamp.
Step 8: Clean Up and Cure
Before curing, use a cuticle stick to remove any polish from the skin. This prevents issues post-cure. Cure each nail under the lamp for the recommended time. Proper curing is critical for gel nail polish longevity.
Tips for a Flawless Gel Nail Polish Application
Achieving a flawless gel polish finish requires precision and attention to detail. Firstly, ensure each layer of polish is thin and even. This approach prevents bulk and promotes uniform curing.
Secondly, always cap the free edge with each layer. This practice helps prevent chipping and extends the longevity of the manicure. It's a small detail with a significant impact.
Next, avoid flooding the cuticle. Leaving a tiny gap will prevent lifting and maintain a tidy appearance. This technique achieves both aesthetics and practicality.
Furthermore, invest in high-quality gel products. Superior formulas have better adhesion and shine, making your work stand out. Quality truly influences the final result.
Lastly, perfect your tidy-up technique before curing. Clean lines around the nail result in a professional and polished look. These tips combine to create a stunning and durable gel polish application.
Troubleshooting Common Nail Prep Problems
Nail lifting can be a common problem with gel polish applications. Often, this issue springs up from improper cuticle care. Always ensure the cuticle area is clean and free from any gel residue.
Bubbling in the gel polish is another frustrating issue. It frequently occurs due to thick application layers. To prevent bubbling, apply thin, smooth coats of polish.
Peeling can occur when the nail surface is not properly prepped. Buffing the nails gently to remove shine helps improve polish adhesion. Avoid over-buffing, which can damage the natural nail.
Sometimes, curing problems happen with gel polish. This might be due to an inadequate UV or LED lamp. Use a lamp with the correct wattage to ensure a thorough cure.
Lastly, if you're experiencing uneven colour coverage, it might be the result of improper base coat application. Ensure the base coat is even, as this foundation impacts the polish finish.
Aftercare and Maintenance of Gel Polish
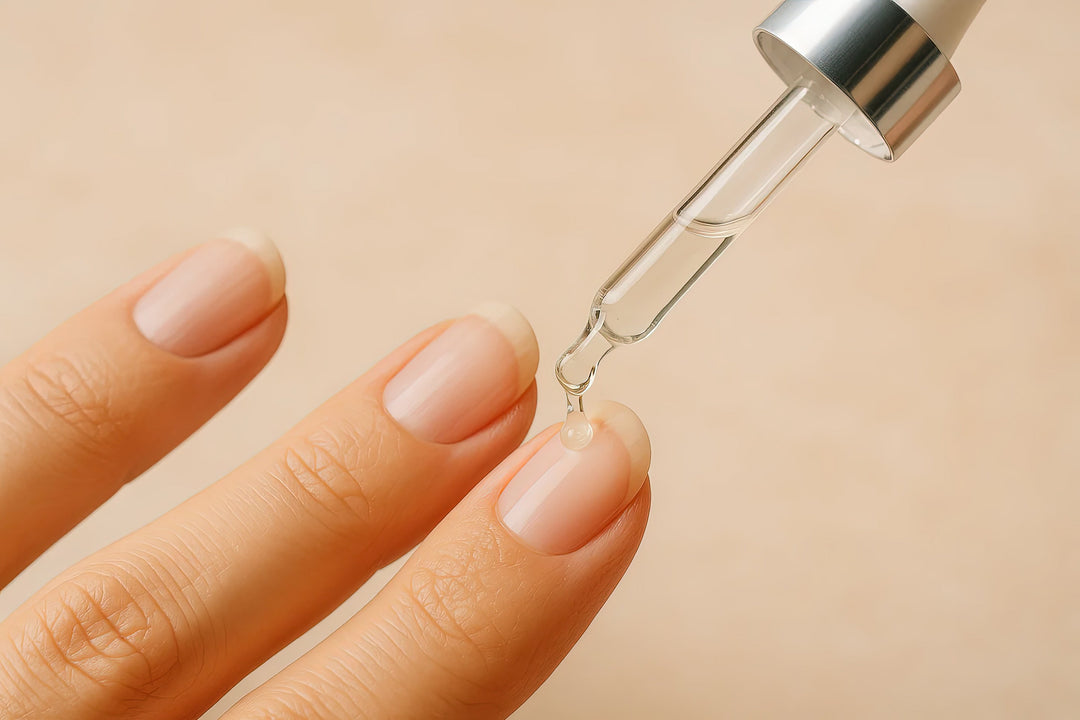
Keeping gel polish looking fresh requires diligence. Advise clients to apply cuticle oil daily. This keeps the surrounding skin soft and hydrated.
It’s also crucial to wear gloves during household tasks. Harsh chemicals can weaken and dull the shine of the polish.
Educate clients about avoiding using their nails as tools. This habit can lead to chipping or lifting of the gel polish.
Regular touch-ups are beneficial for extended polish life. Recommend follow-up visits to check the polish's condition and address any issues.
Finally, remind clients about correct removal practices. Avoid peeling or picking at gel polish to avert nail damage. Suggest using a professional removal service for optimal nail health.
Conclusion: The Key to Gel Polish Longevity
Mastering nail prep for gel polish is essential for achieving lasting results. Each step, from sanitising to applying the top coat, plays a vital role. By paying attention to detail and using the correct techniques, you can ensure your clients enjoy beautiful, long-lasting gel manicures.


