Nail Prep: What is it? Why is it Essential?
Nail preparation is the foundation of every flawless manicure. Whether you’re a professional nail technician or a beauty lover perfecting your nails at home, proper nail prep ensures your gel polish lasts longer, looks smoother, and stays chip-free.
In this guide, we’ll explain what nail prep is, why it’s so important, and share step-by-step instructions to help you achieve salon-quality nails every time.
What Is Nail Prep?
Nail prep is the process of preparing your natural nails before applying gel polish or nail enhancements. It involves cleaning, shaping, and treating the nails to create the perfect base for application.
When done correctly, nail prep:
-
Removes oils, debris, and dead skin that could stop polish from sticking
-
Improves adhesion so your manicure lasts longer without lifting or chipping
-
Helps prevent nail problems such as peeling, breaking, or yellowing
-
Promotes overall nail health
Step-by-Step Nail Prep Routine
Follow these essential steps to make sure your gel manicure looks professional and stands the test of time:
1. Remove Old Polish
Use acetone or gel remover with a lint-free wipe to remove any traces of polish. Pay extra attention around the cuticle area where residue can hide.
2. Shape Your Nails
Take a nail file and shape your nails to your preferred style—square, almond, oval, or coffin. Always file in one direction to avoid splitting.
3. Buff the Nail Surface
Lightly buff each nail to gently remove the shine. This helps your base coat grip properly. Don’t over-buff, as this can weaken the nail.
4. Tidy Your Cuticles
Gently push back the cuticles with a cuticle pusher, then trim away any excess with a cuticle nipper for a neat, clean finish. Avoid cutting too deeply to protect your nail health.
5. Cleanse, Dehydrate & Prime
Wipe nails with a lint-free wipe soaked in acetone or nail cleanser to remove dust and oils. Then apply a nail prep dehydrator to eliminate any remaining moisture.
For extra adhesion, follow with a thin layer of nail primer. This step helps prevent lifting and ensures your gel manicure stays put for longer.
6. Apply Base Coat
Finish your prep by applying a thin layer of base coat (such as a rubber or fibre base). This protects your natural nails and creates the perfect foundation for gel polish.
Extra Nail Care Tips for Healthy Nails
To keep your nails strong and your manicure looking fresh:
-
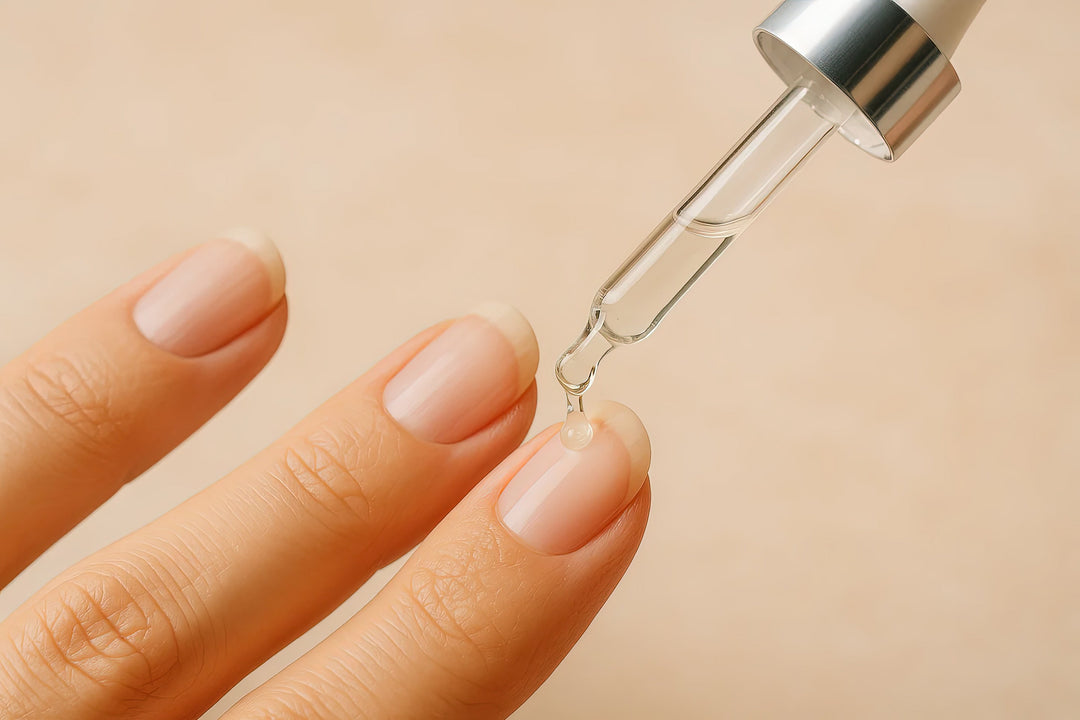
Hydrate daily: Apply cuticle oil and hand cream to nourish and prevent dryness.
-
Protect your nails: Wear gloves when cleaning or using chemicals.
-
Avoid damage: Don’t use your nails as tools for opening or scraping.
-
Regular maintenance: Keep up with gentle filing and cuticle care between manicures.
Why Nail Prep Matters
Skipping nail prep often leads to lifting, peeling, or chipped polish. By taking a few extra minutes to prepare your nails properly, you’ll achieve a longer-lasting, salon-quality manicure at home.
Whether you’re applying gel polish, BIAB, or builder gel, nail prep is the secret to flawless results every time.
✨ Takeaway: Healthy nails = happy nails. Mastering nail prep not only gives you a professional-looking manicure, but it also helps protect and strengthen your natural nails over time.


